Yo diymirage,
Lift, one man in a 90 Source: by 90Beater (Topher, Chris)
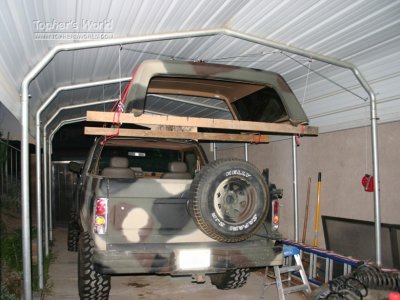
I've taken the top off the Bronco by myself before but it's big, awkward and heavy so I decided to make a lift for easy top removal. I went to the hardware store and bought a bunch of cables, clamps hooks and a hand crank winch.
I started by welding a 1 x 2" piece of rectangular tubing between the pipes on the covered parking on the side of my house. I drilled the center hole and put the eye bolt in before I welded it in place.
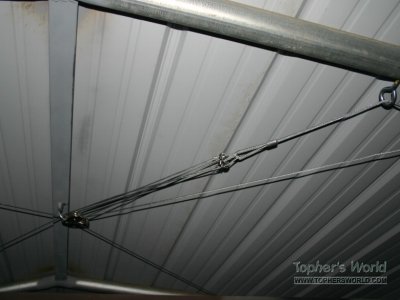
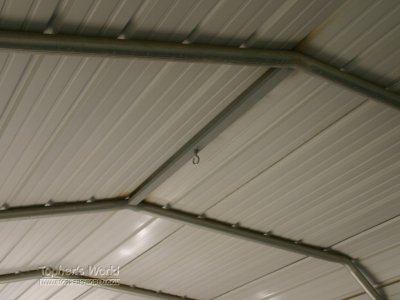 I then drilled and installed four more eye bolts for the cables and two more for the winch cable. I then rand the cables, clamped them together with clips and put four more eye bolts in the 2x4s as shown.
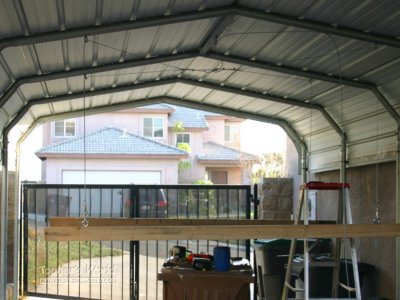 My first attempt at harnessing the wires didn't work out so well. I had to rework it.
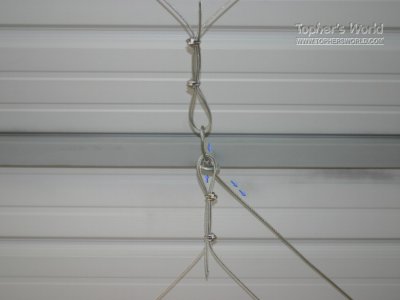 OK that fixed it. This is in the lowered position. All four corners come up evenly. Without the Bronco top on there I could pull it up by hand.
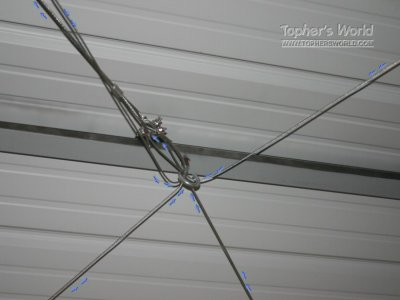 I had a problem with one of the cables **** a 180 bend binding and bent two eye bolts. I had to rework it a little with a couple pulleys.
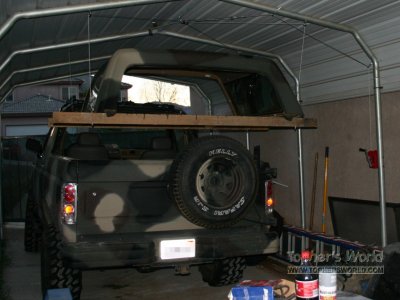
 Half way up and I had to do a little adjusting to get it level.
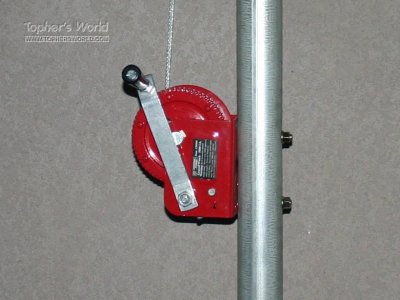
 A little $20 Harbor Freight hand cranked winch makes it easy.
 All the way up.
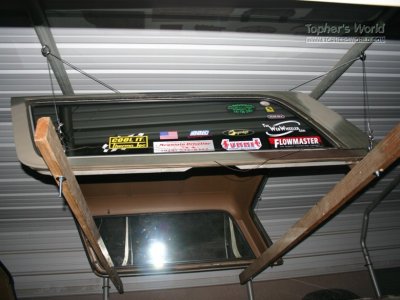 I tied it down just to be secure.
■■■
Lift, one man in a 91 Source: by California Monkey (Richard, Mama Cass)
Now that I live far from friends, I now need a way to take my top off (

) without the aid of another person. I also didn't want to store the bronco top in the backyard where my dog would **** all over it. I could store it on saw horses but it gets windy out here and it's an eyesore for the neighbors. I didn't want to store it on the garage floor because of the rediculous amount of space it would take up negating even having a bronco. yada yada wackidy smackidy, here's what I did.
First off, the supplies.....
Normally, I'd be stingy

on my materials on a project but this being a possibly dangerous storage system, I refrained from using materials based on price. Everything used is strong enough to hold the weight of the top by itself so hopefully if something fails, my top won't drop and possibley cause thousands of dollards worth of damage.
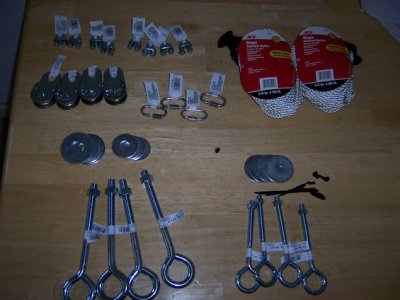
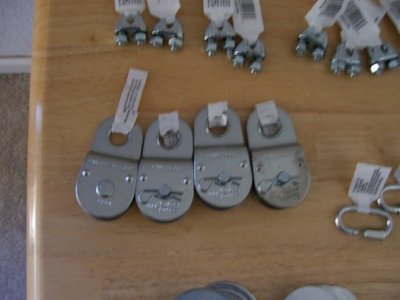
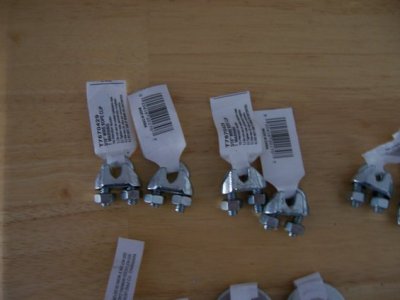
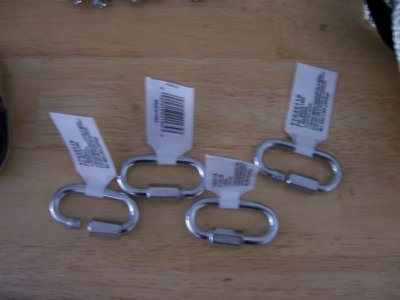
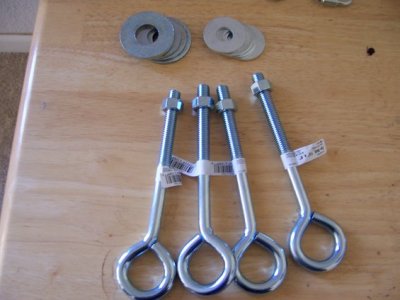
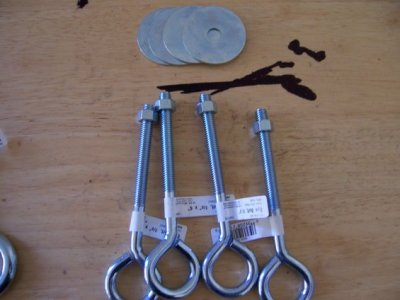
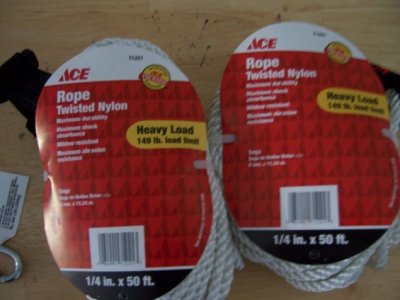
I also had some lumber laying around left over from a fence I recently built. 2 2X4's and 2 4X4's along with some scraps of 2X4 is all your really need.
The you need to plot out where you are going to put this contraption. Basically, my 2 car garage is going to be a 1 car garage and shop. The car parks on the left and the shop being on the right. I backed in my bronco and place the back end as close as I could without it obstructing the door or my ability to open the tailgate.
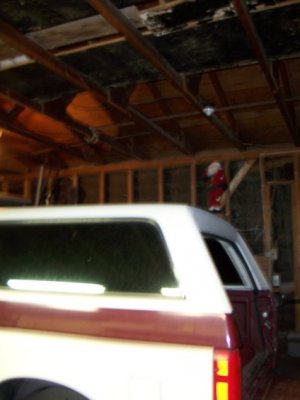
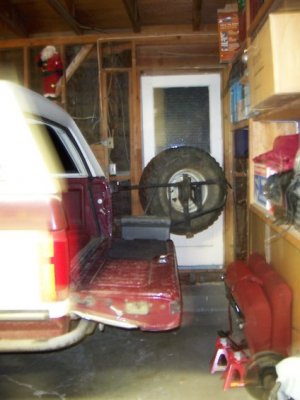
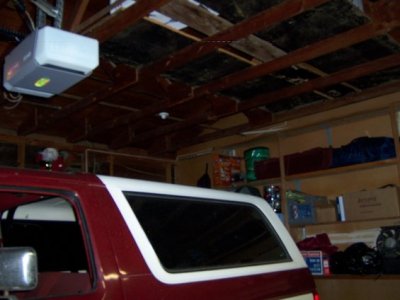
Also, make sure you won't be obstructing your garage door from being able to open and close as well as making sure your roof or rafters are tall enough that your top won't be a head splitter if you don't pay attention while your around it. Luckily, my garage has plenty of head room

and is plenty deep enough for the door and the top to co-exist.
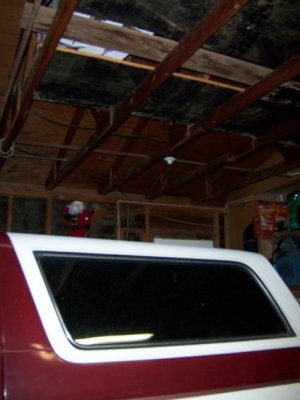
Start the build by prepping the boards. Drill a 1/2" hole at each end of both 2X4's making sure the top has a good 10-12 inches of play from the eye-bolts.
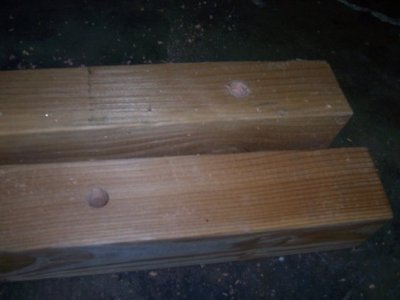
Make shift work station
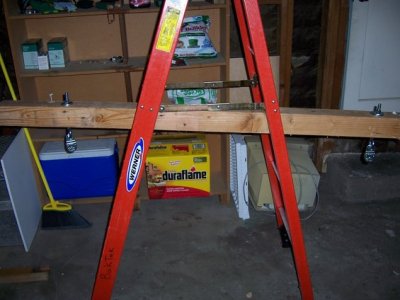
Then set-up the eye-bolts along with some nice thick fender washers
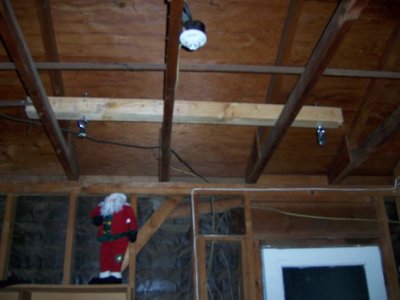
Depending on the length of your 4X4's and the distance between the rafters and the distance apart from each other you want the lifting boards to be, you need to draw out where your drop points are going to be. I plum-bobbed to find out where on the rafter would be straight up from the lifting points and marked it on the rafters. Then figured out I wanted 55 inches between my lifting boards and marked them to where it would be hitting any of the rafters when in place.
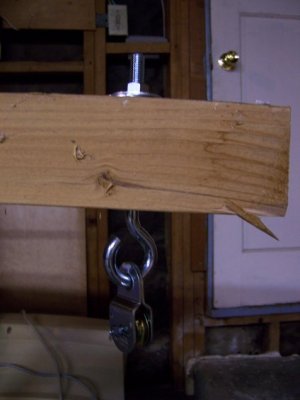
Then I cut the eye-bolts to allow the pully to slide on to the eyelit.
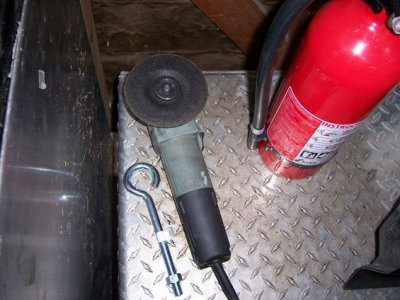
Then set-up the 4X4's the same way I did the 2X4's with the fender washers and modified eye-bolts. Lift them into place on top of the rafters with the pullies facing down.
Now, I was a boyscout. In boyscouts I learned that I **** at doing knots and they shouldn't be trusted. Because of what I learned I went a different route for attaching the ropes to the eye-bolts.
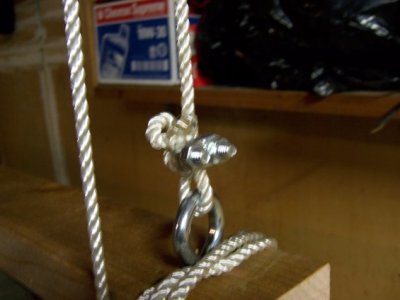
They work great and were only $.50 each.
Now loop the rope through the pully and drag up your board until you can tie off the loose end of the board.
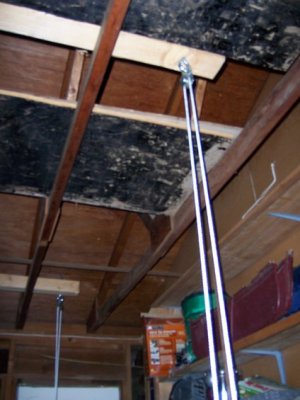
Once all four are done, do a quick measurement to see if the "make believe" box you created will allow the top inside of it still.
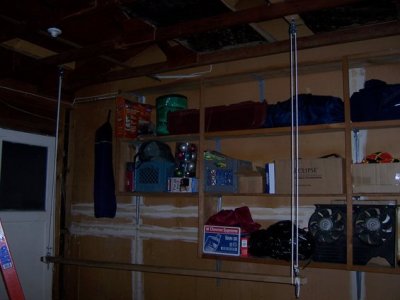
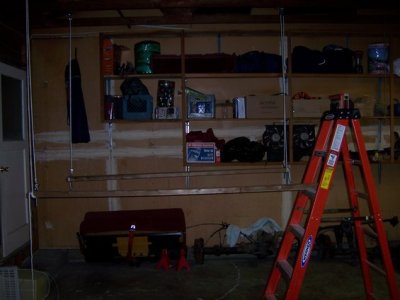
I then back the bronco up, slide the boards under the top (hard to do with a roll bar, impossible with roll cage) and start lifting the corners one at a time a little at a time (first big irritation). The top became unstable so I used some small peices of 2X4's as stops on the outside of the corners to keep the top centered. I plan on actually wood screwing the top to the boards to keep them completely locked down and stable.
After struggling for a while making slow progress, I found my ratchet straps and strapped the corners with those to do the lifting. What a huge difference!

Now the ratchet strap lift the corner and then I just continually tie the rope off shorter each time I lift it. Once in place, I leveled it out and double checked my head clearence
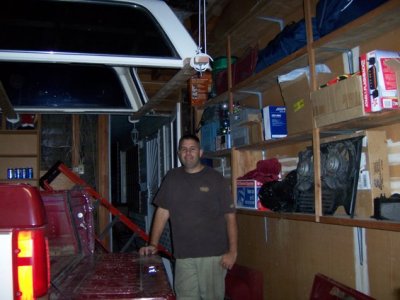
A whole lot!

I'm pretty sure I could pull in with another top on my bronco and not hit the 2X4 cross members.
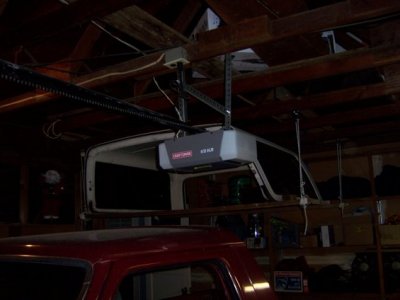
( this is where I left off)
Future plans;
1. Make rope tie offs clip-on's instead of clamps making it easier to get boards in place
2. Finish the final tie-offs with clip on locks so I know where to stop each time.
3. Might do some dual pullies to "****** block" the ratio down making it easier.
●●●
Camper Shell & Sliding Side Windows > shellback.jpg
File 10 of 52
Prev |
Next
Url
Tag
Img
Thumb
Flag as inappropriate
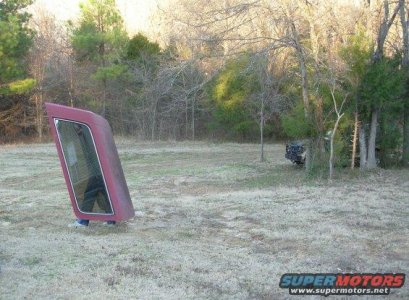 shellback.jpg | Hits: 2051 | Posted on: 1/1/12 | View original size
 (580.44 KB)
This is how I prefer to carry a Bronco camper shell: alone with its rear lip resting on my shoulders. I'm holding onto the lower rear corners (top front as I'm holding it) to stabilize it as I walk, and to keep its front edge (bottom rear) from hooking my heels.


