Ok so the cab corner on my 74 f100 will work
I'm not up on the F-series so if the cab is the same, yes. I just Sawzall off more than I need and use the extra for other things. After cutting it out, use a weld cutter and seam breaker to remove the skin metal. If necessary, I disassemble the sections I cut from a donor vehicle and reassemble them on the project vehicle as needed. Put a backing piece in the post and attach the new post material to it.
Some pictures of the weld tools, structural epoxy I used (you can get it off the Internet or a local body shop parts supplier, there are a couple of different brands, but all do the same work. I used a relatively fast (Fusor 108B) setting epoxy for small areas and a long set epoxy (Fusor 112B) for the quarter panels. I don't generally like welds because that is where 99% of the rust starts.
In the pictures:
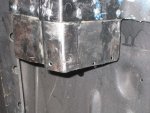
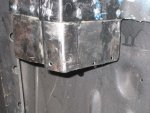
1. A backing plate I made from extra post material (had to shrink it down a bit).
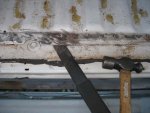
2. A weld breaking tool ( used to separate skin seams and break small bits of weld not cut by the weld cutter.
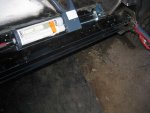
3. Structural Epoxy and gun (automatically mixes the epoxy and hardener in the tube as it comes out).
4. The weld cutting bit in the drill, (it makes life a whole lot easier if you pre-drill a hole with a drill bit in the center of the spot weld).
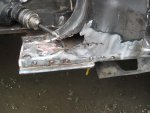
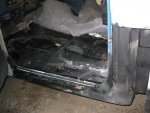
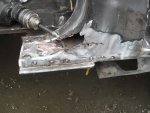
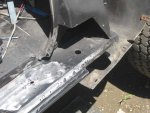
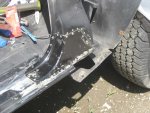
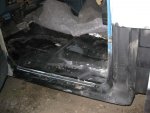
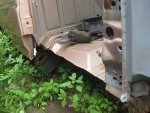
5. All that metal you see attached to the floor board came from a donor truck, some of it you can't get from any supplier. In this picture you can see The floor board patch the new, (to this truck), rocker panel and B-post repair. I cut that all out of a F150 by cutting far into the floor area to get as much metal as possible, (you never know if you will need a little more than you thought). I then completely disassembled the pieces to clean between the seams, (rust lurks there). Then after cutting out the rusted areas of the project vehicle, I trim the donor metal to the size needed, (note the over lap along the floor board). That is where the structural epoxy and blind rivets go. Before cutting the B-post take a length measurement so the new metal pieces come out the same when assembled ( it would be the pits if you made the new section too short and the door wouldn't shut :-& . Also attach any new metal in place with a couple of temporary sheet metal screws, drill all the holes for blind rivets and then use a flap sander to remove the little pieces of metal left from drilling the holes. If you don't the metal will not go together flush. Then apply the epoxy along one edge, put the overlapping piece on and start holding it together with blind rivets. When the epoxy is set the rivets really only add extra strength to the seam, so I leave them there. The only place you may want to run a weld is on the seam at the B-post. I didn't because I trust the integrity of structural epoxy, that is just a personal opinion, not a suggestion. After the Epoxy is set for a couple of days, I go over all the metal seams with a sealer to prevent any water from getting in there, (both sides of the metal). I also use undercoat and paint over it with Rustolium High performance flat black paint on any surface that isn't getting primed and painted.
Hope that helps. That is the way I do it others may do it another way. In my opinion, it really doesn't matter as long as the result is the same.
Good luck,

>-
