Just a little more info for you guys.
Most of the time when these internal regulator alternators stop charging it will be from the brushes being worn away completely. If your alternator is making noise you may need to replace the bearings, or your rotor may be contacting the stator. Then there is the very off chance that you actually have a bad rotor or windings in which case you should just replace the alternator.
Replacing bearings and brushes are very simple jobs and can be done in little to no time at all. If you are going to be replacing bearings(splitting the case) and you do not have access to an impact gun you may want to loosen the pulley nut while your belt is still on the truck. I have always used an impact gun so the belt thing may or may not have enough friction to hold it, but good luck.
Once you get the Alternator off the truck(be careful with those connectors, the wires are brittle), get yourself to a clean work area. If you are only replacing brushes dont get comfortable because you wont be there long.
To replace the brushes you will need a T20 torx driver, a small drill bit or some welding wire and thats its.
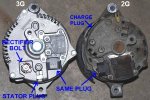
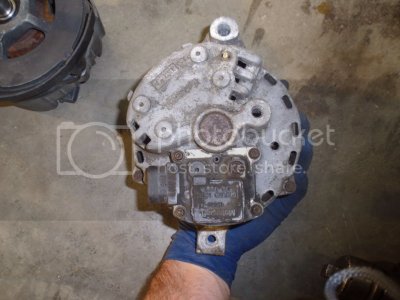
here is the back of a 5.0l Alt
here is the back of a 4.9l Alt
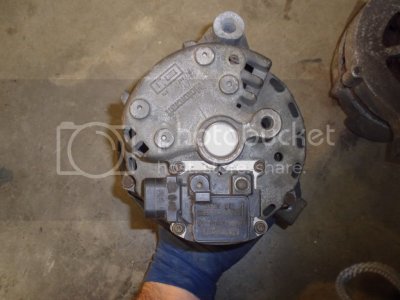
Looks very similar right.
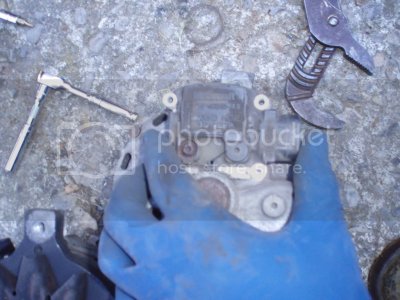
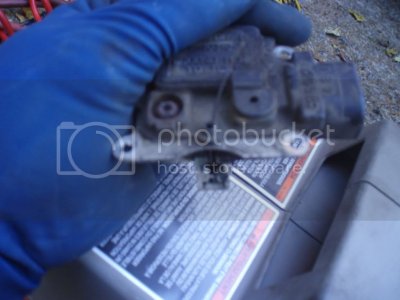
To get at the brushes you need to remove that black piece using the torx bit. Only the outside 4 screws are holding this on. Once you remove it, you will have something like this.
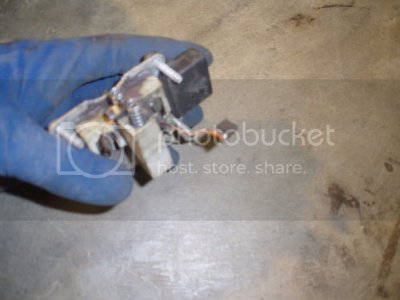
It was really tough to get a clear picture of it but you can see one of the brushes hanging there. The copper wires are laid into a mold and the brush is actually cast around it. Some brush sets have the wire centered, others have it off to one end i believe(which makes more sense). This set in my truck was centered and you can kind of tell that half of the brush has worn away. The wire had actually become removed from the brush!!
Removing the brushes is a straight forward procedure but one of the ***** heads on the other side is actually covered by a small plastic cap, just flip this up and you can gain access to the ***** head.
If this was all you needed to do you can put this part back into the alternator by using that small drill bit or piece of wire to hold the contacts back against the springs using the hole ford provided.
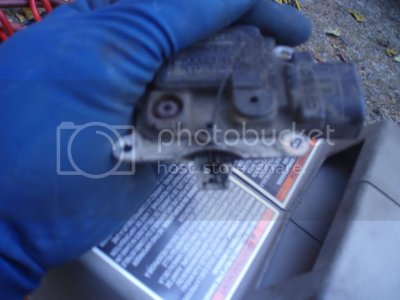
once you have the plate bolted back in you can remove your wire or bit and the contacts will spring load against the rotor.
If you needed to address the bearings leave this piece out until you are done.
To split the case on the alternator you will need a 24mm socket(to remove the pulley), an 8mm or 5/16 socket to under the 3 screws holding the body halves together and the bearing retainer plate for the front bearing.
Once you remove the 3 screws holding the housing halves together you will need to work at it a little to get them to separate, remember part of it is a big magnet. The stator is attached to the front half of the housing but has a connector which connects inside the back housing, this makes it fun. You will need to pull on the shaft(where you removed the pulley) and the front half of the body away from the back half(almost like cracking open an egg). Once the back of the rotor shaft is out of the rear bearing you will be able to rotate the rotor and front half away from the back half so you can disconnect the plug between the two. Now you can fully separate them.
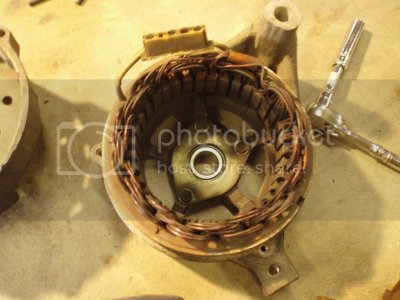
In this photo you can see the front half, stator, connector and the main bearing retainer plate(3 bolts)
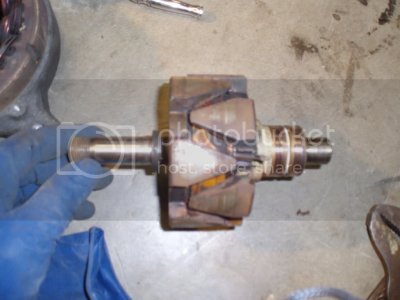
Here is the rotor
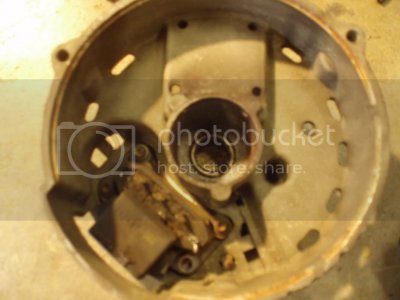
Remove these 3 bolts and replace your bearing with the new unit, then replace the plate and 3 bolts. that easy. The bearing cup on the back is a bit more involved.
The rear or back bearing cup needs to be pressed(or hammered out). you can use an appropriately sized socket and hammer to do this but make sure you have your alt housing well supported on a flat surface and on a piece of wood so you do not damage it. You want to use the largest socket you can so that your hammer blows are hitting the outside edge of the bearing cup.
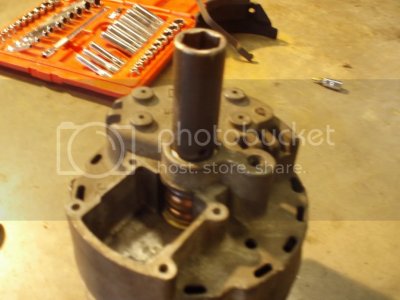
You want to hammer the hold bearing out and hammer the new one in but be careful with it. If you bend or distort the bearing cup too much you will be upset when you get your truck back together and it squeaks! One other thing to note is the end play. You do not want much play when the alternator is reassmebled. What i do is tap the bearing cup in flush with the back of the housing, reassmeble the alternator and check how much in-out plate the rotor has. Then i support the housing and tap the bearing cup in some more until almost all of the play is gone. You want just a little(very little).
To re-assmebly you just reverse the steps above making sure you plug the stator back into the back housing. The rotor has a Cclip and a spacer that goes on the Front bearing (pulley) end. This spacer is there to press against the back of the bearing so make sure you still have it there, if not find it fast! Once the two halves are bolted together make sure you can spin everything freely. If you hear and noise or feel any dragging this will squeak and squeal so you need to address it now. Sometimes you may need to take some fine(400-600grit) sand paper to the rotor if it has built up any rust on it. Fine sand paper will ensure you do not mess anything up but still remove the rust. If everything spins freely go ahead and put your pulley back on. It goes spacer, fan, pulley, washer, nut. If that first spacer isnt there you will have issues with the fan hitting the case. I use my impact gun and a wrench to hold the pulley, just make sure you get that nut on there.
Now you can replace the brushes in the back of the housing like mentioned above and reinstall your alternator.
If your alternator goes bad and you have to pull it to replace it anyways it really doesnt take any time to pull the brushes and check them. 9 times out of 10 you will save yourself $150.
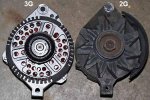
Here is a front pic of the 4.9l(left) and 5.0l(right) alternators.
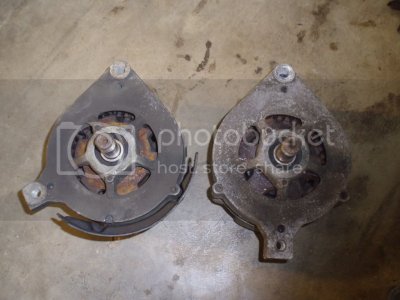
they are very similar but the mounting ****** is different and the pulley size is different. The brush housing should be the same though.
