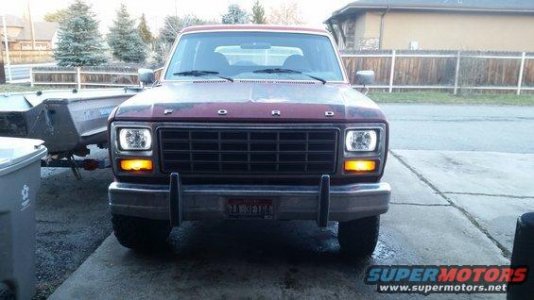
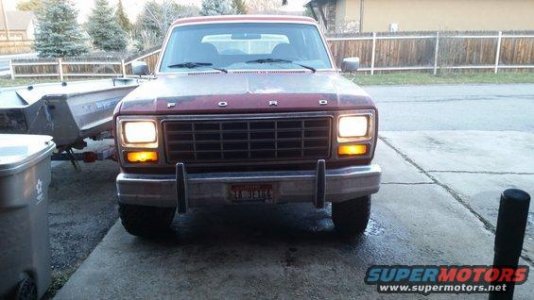
Yo Richard,
Ryan M developed the harness and later sold rights to broncograveyard, etc.
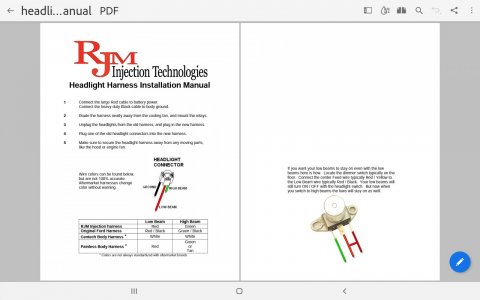
Here is Ryan's Install pdf
http://web.archive.org/web/20111227041636/http://96.0.50.30/headlight_manual.pdf
View attachment 28999
Following from another member in a deleted web site;
"I missed this step, "Lastly, the on/off switch for the harness is the original plug. So, you simply plug the new harness into the old pigtail for the passenger-side headlight" from the write-up.
Recently, I received a set of H4 / LED upgraded headlights. Then, while poking around on broncograveyard, I saw that they had an upgraded wiring harness that they highly recommended to get the maximum out of H4 headlights."
Following in an 86:
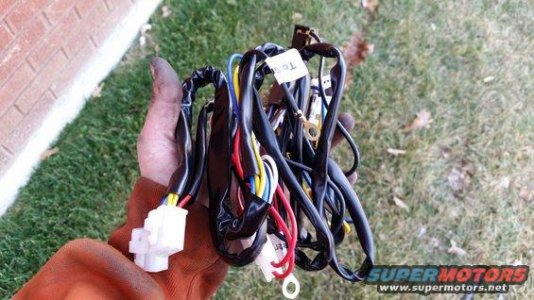
"The other perk of the headlight harness is that it uses direct battery power for the headlights, instead of passing it through the dash switch. A pair of relays are then used to turn the headlights on and off. Allows for A) less straight on the switch and B) more juice to the headlights.
Here's the link I used. They have one for each model year bronco. (66 - 77, 78 - 79, 80 - 86, 87 - 91, 92 - 96), so be sure to get the right one for your year.
This is the one for the 80 - 86.
Heavy Duty Headlight Harness 80-86-Broncograveyard.com
View attachment 28986
The headlights are from Amazon, but basically it's a "H4 H6054 upgrade" with H4 being the newer replaceable bulbs, and the H6054 is the original sealed beam bulb.
These are the ones I got:
Amazon.com: ModifyStreet® 7X6 H6014/H6052/H6054 Chrome Crystal Square Projector Headlights - White LED Ring: Everything Else
They come in an assortment of colors. There are definitely more expensive, higher quality sets out there upwards of 3 digits for a set, but I wasn't super concerned. However, no matter what you go with, be sure you get
glass and not plastic. Plastic will fog after a while whereas glass won't.
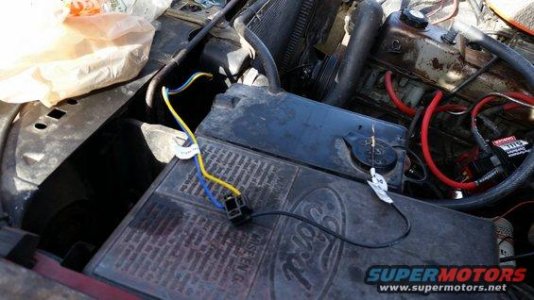
The first thing I did was route the driver's side part of the wiring over to the driver's side headlight. I ran it in front of the radiator and out of the way. Now that it's all working, I'll probably remove the front grill and do a better job of securing it in place and up and out of the way.
View attachment 28987
Next I removed the battery to make enough room to clearly work:
View attachment 28988
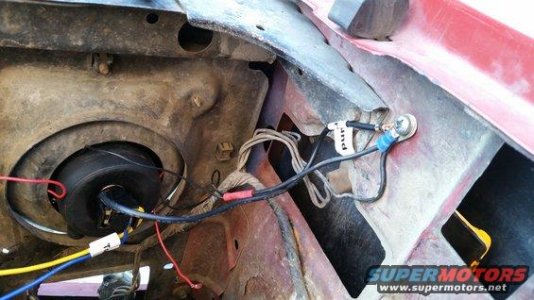
Each side has a ground wire. I cleaned up my original ground and added this one. The headlights also had a ground wire for the LED ring. I didn't take pictures, but I tied the positive wiring for the LEDs into the parking lights.
View attachment 28989
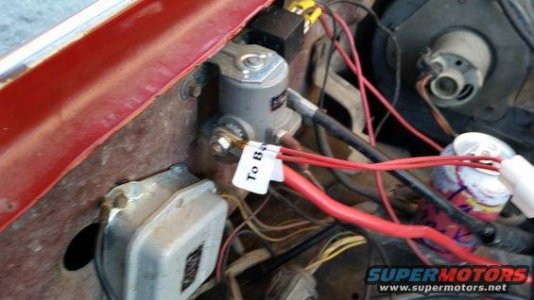
Next, there's a positive, direct battery connection for each of the headlights. I could have connected it to the battery post, but figured this was an easier and cleaner mounting point.
View attachment 28990
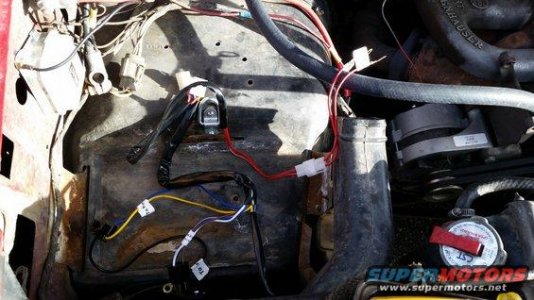
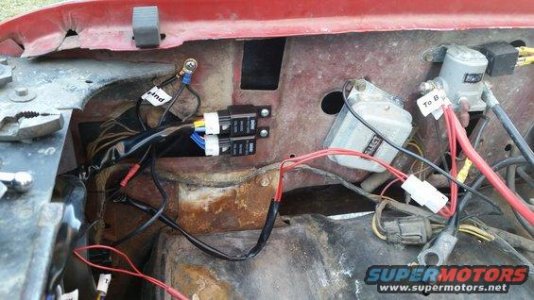
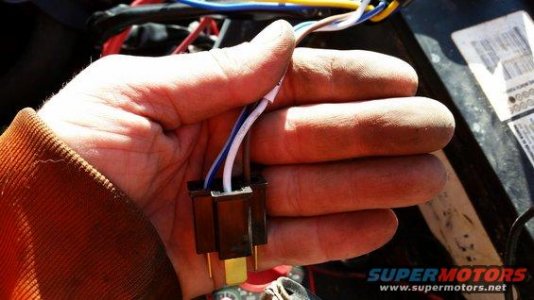
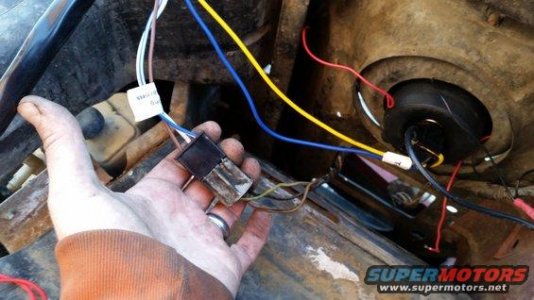
The kit also included two relays. One for each headlight. I drilled and mounted them to the firewall next to the battery. The harness just plugged right in to them.
View attachment 28991
Lastly, the on/off switch for the harness is the original plug. So, you simply plug the new harness into the old pigtail for the passenger-side headlight.
View attachment 28992
View attachment 28993
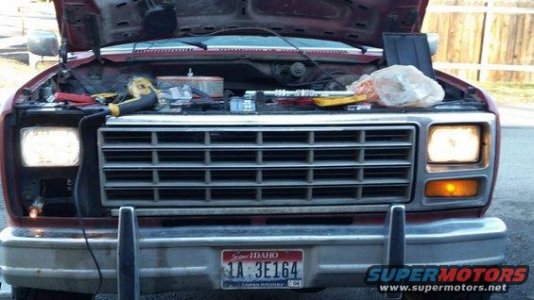
The other interesting part is that the old harness still works. So if anything were to ever happen to a relay, the original pigtails are still available and usable. In this picture, the passenger side is plugged into the new harness and the driver's side is into the old harness. Even in the middle of the day, the brightness difference is noticeable.
View attachment 28994
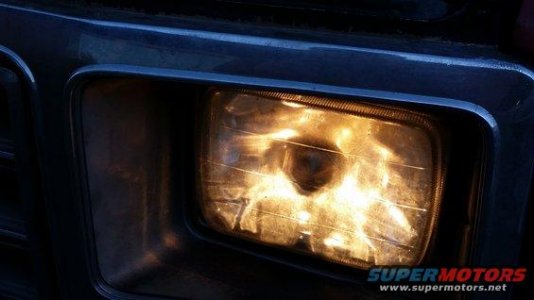
The old headlight:
View attachment 28995
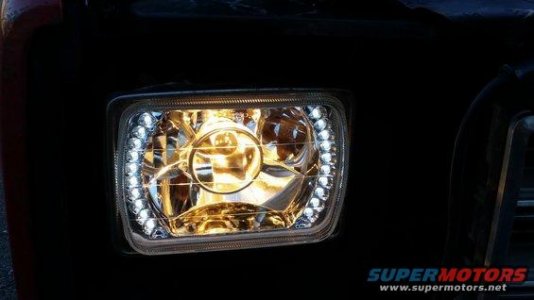
The new headlight:
View attachment 28996
This was a fun, new extra. The LED ring comes on with the parking lights. This is just the parking lights.
Also, on these particular lights, each headlight had two sets of wires for the LEDs. One for the left ring and one for the right ring. So, I could have done something fun like have half the headlight blink with the turn signal. However, I didn't want it to only be half lit when the turn signal wasn't being used, so I didn't mess with it.
View attachment 28997
Put back together and done. Pretty darn bright for 4 in the afternoon.
View attachment 28998
Overall, the upgrade was incredibly simple to do. The only work was drilling two holes for the relays. Otherwise, the majority of my time was spent cleaning up the grounds and wiring in the LEDs for the headlights (which didn't have anything to do with the harness)."


